Growing up, Sunday mornings were almost synonymous with biscuits. Whether it be in Grandma’s kitchen or at home with mom, biscuits and honey butter were one of those things you could count on as we’d wander down the hall towards the kitchen in our pajamas on Sundays. To this day, biscuits are one of the things we love to make for a casual brunch with guests or morning breakfast at home.
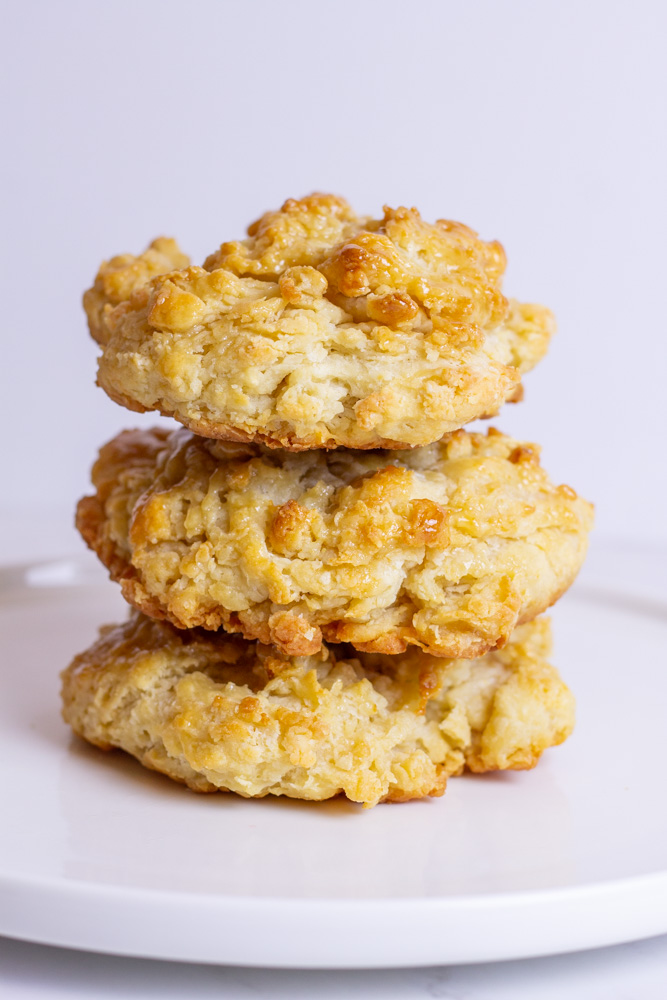
There’s a couple different camps of biscuits, but today we’re making the ones we grew up eating. These aren’t the flaky, layered ones where you generally flatten and fold the dough in order to get that layered component (similar to what you would do for a puff pastry, just fewer times!) these are the soft centered, crispy edged biscuits. The kind that when you unevenly scoop them onto the pan, creates perfect little nooks and crannies for butter and jam to soak into creating a perfect bite every time.
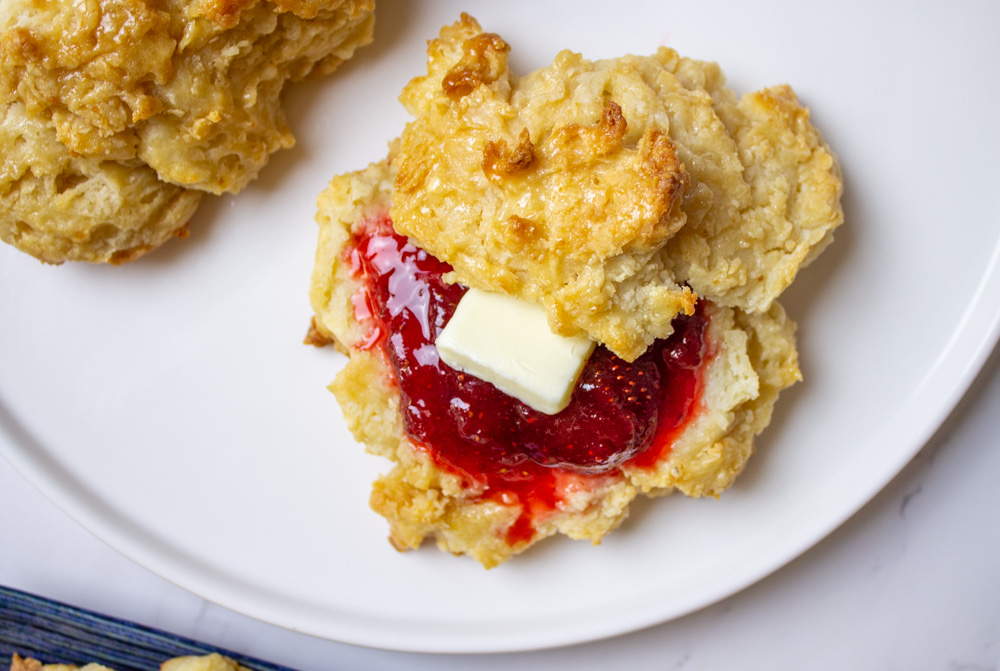
Now, although we grew up with ones like these, our time in Atlanta is really what helped us craft our favorite biscuit. Being in Atlanta, there were biscuit places on every corner, from the Flying Biscuit to the Callie’s Hot Little Biscuit, they all had their own great biscuit. However, our personal favorite was at a place called Buttermilk Kitchen.

We remember the first time we went to Buttermilk Kitchen, like many places on the weekend in Atlanta, there was a line to get a table. We were dreading the wait, but as soon as we were served our food, specifically, that BISCUIT… we learned what the wait was about. The biscuits were just like mom’s and grandma’s but each one had the perfect crust and soft center. See both our mom and grandma had scooped the biscuit dough into a round cake pan or pie tin, which don’t get us wrong made great biscuits, but the Buttermilk Kitchen scooped each on separately onto a cookie sheet. This method allows for each one to have their own space to bake evenly and get that golden crust.
When you break off a piece, there’s a slight crack and steam puff out of the airy pockets created by the cold butter. They are so delicious, the perfect mix of crispy yet tender, and of course, the perfect carrier for honey butter 🙂
Buttermilk Kitchen’s Buttermilk Biscuits Notes:
COLD COLD COLD: You’ve heard it before, but it’s so true for biscuits, ingredients should be cold. The dry ingredients can be measured and chilled in the fridge if you want to be next level, but at the very least keep your buttermilk and butter very cold until mixing time.
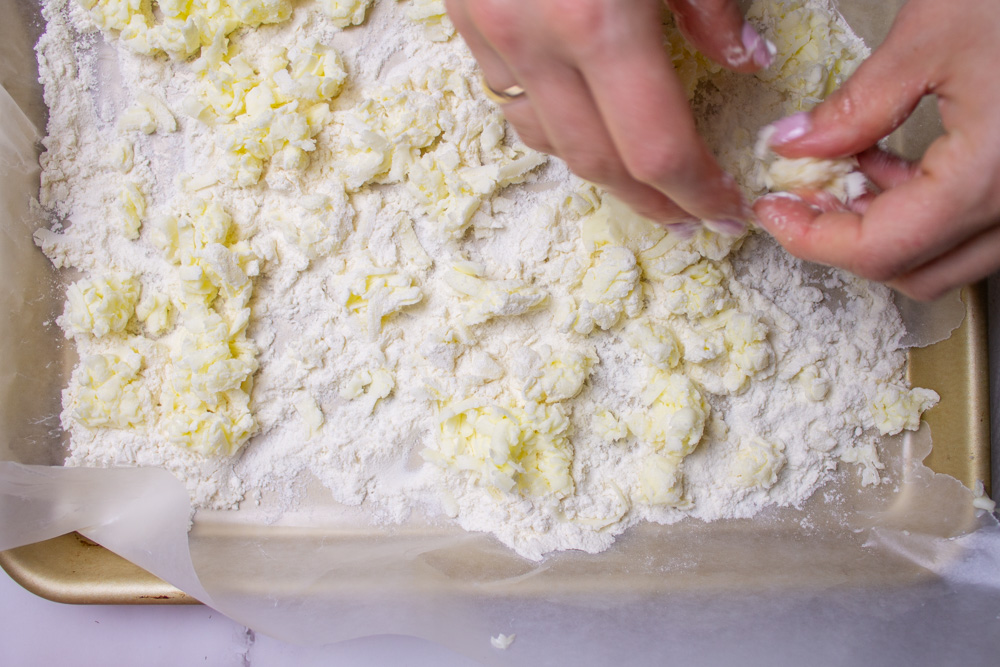
The Butter: The small pieces of butter are what create the flaky biscuit, but just like the rest of the ingredients, it must be cold. In order to do this, we use a method of grating the butter in advance then chilling it in the freezer overnight or for about 30 minutes to get it really nice and cold after grating. This method allows for the butter to be the right size while still staying cold and not requiring much working of the dough so the gluten doesn’t develop and the biscuits stay tender.
The Flour: We put the grams because flour is one of those things that’s just better to weigh. Weigh it out if you can. We use all-purpose flour in this recipe. Since the recipe just has a few ingredients, it is important to use quality ones. For the flour, one of our favorites is king arthur flour.
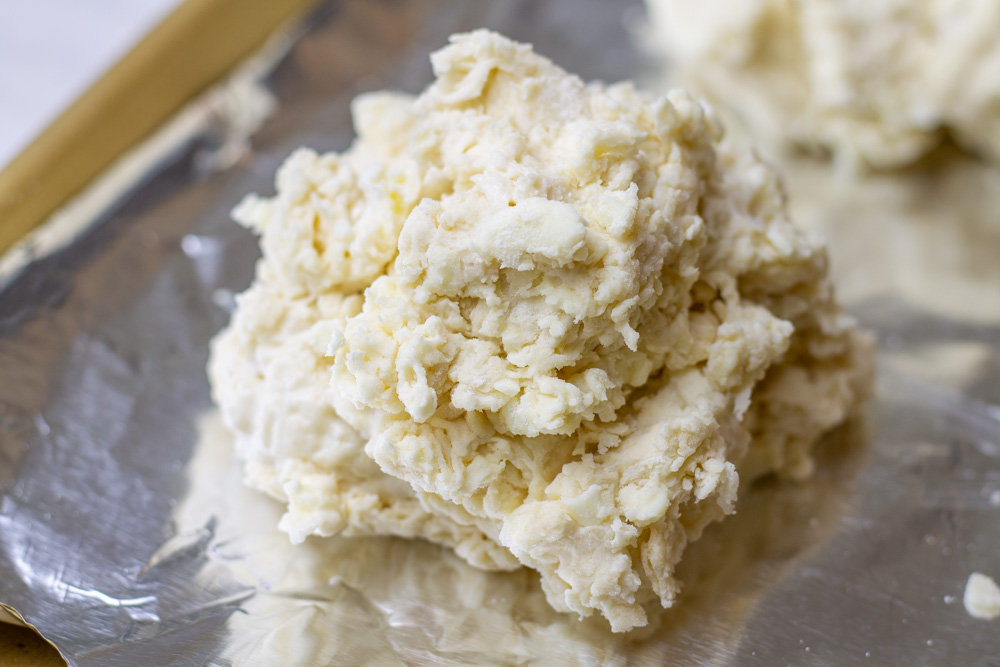
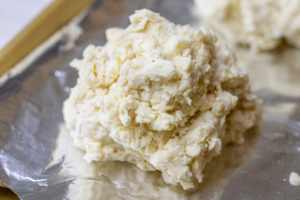
Scooping: The messier the better and pile them high. We talked about the nooks and crannies but those are what really create the crisp so no need to smooth these out, grab a cookie scoop, weigh them, and let them remain shaggy on the outside. That being said, pile them high (aim for ~4” diameter but no need to be perfect here) because these will spread and you don’t want a totally flat biscuit.
Spacing: Speaking of spreading, give these at least a few inches on either side as they will spread. You can fit ~6 on a large cookie sheet.
Buttermilk: Use the real deal if you can, this is really what makes the flavor of these so grab that buttermilk from the store and with the extra freeze it for next time or even better, make a confetti or chocolate cake!
Buttermilk Biscuits
Ingredients
- 510 grams all-purpose flour 4 ⅛ cups
- 1.5 tablespoons sugar
- 2 tablespoons baking powder
- 2 teaspoons salt
- 2 sticks of butter
- 1.75 cups buttermilk may need up to an additional 1/2 cup
Honey Butter:
- 1 stick room temperature butter
- ½ cup honey
Instructions
- Step 1: Dust a sheet tray with 60 grams (½ cup) of the flour
- Step 2: Grate the butter (215 grams) onto the flour dusted tray and freeze. You can freeze until hardened (~30 minutes or leave overnight).
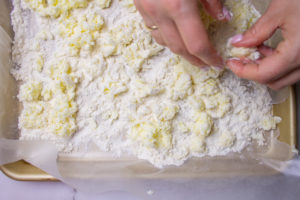
- Step 3: Preheat your oven to 350 F
- Step 4: Whisk together the dry ingredients- the remaining flour (450 grams or 3 ⅝ cups), sugar, baking powder and salt.
- Step 5: Using your hands, lightly toss the chilled, grated butter into the dry ingredients until crumbly

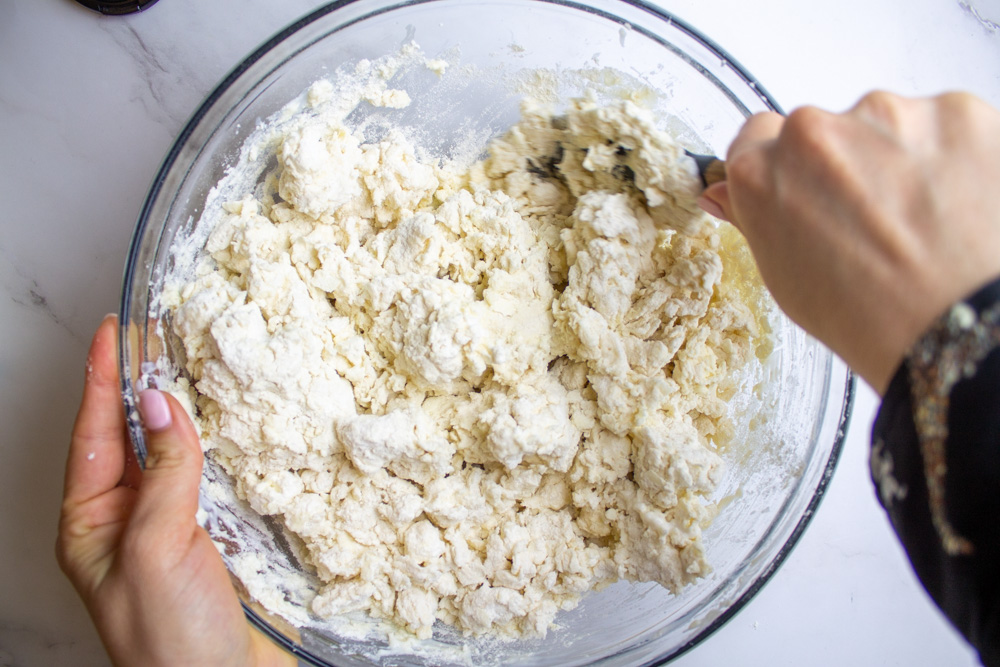
- Step 6: Using your hands or a spatula, fold in the buttermilk just until combined but evenly mixed (dough will be shaggy, but make sure not to over mix)
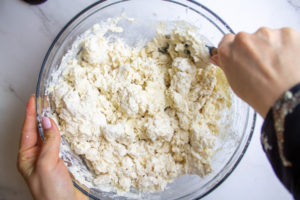
- Step 7: Take a large cookie scoop to shape the mixture into round biscuits, weighing each to 190 grams (6.6 ounces)
- Step 8: Bake for 30 minutes, rotating every 10 minutes (checking for them to be a golden brown)
- Step 9: Brush the biscuits with butter (or honey butter) right after taking out of the oven
- Honey Butter: Whip room temperature butter and honey until creamy and lightly fluffy. We like using a mixer for this as it gets the honey butter nice and fully, but even a spoon will do the trick.
Notes
Entertainer’s Note
You can freeze the dough in advance and pop the frozen, raw biscuits onto a tray (just leave them in a few minutes longer) for warm, Sunday morning biscuits any day of the week!
When hosting, we also like to serve these as a “biscuit bar” with eggs, bacon, jam, etc so people can build their own biscuit sandwich or have the biscuit their favorite way!



Leave a Reply