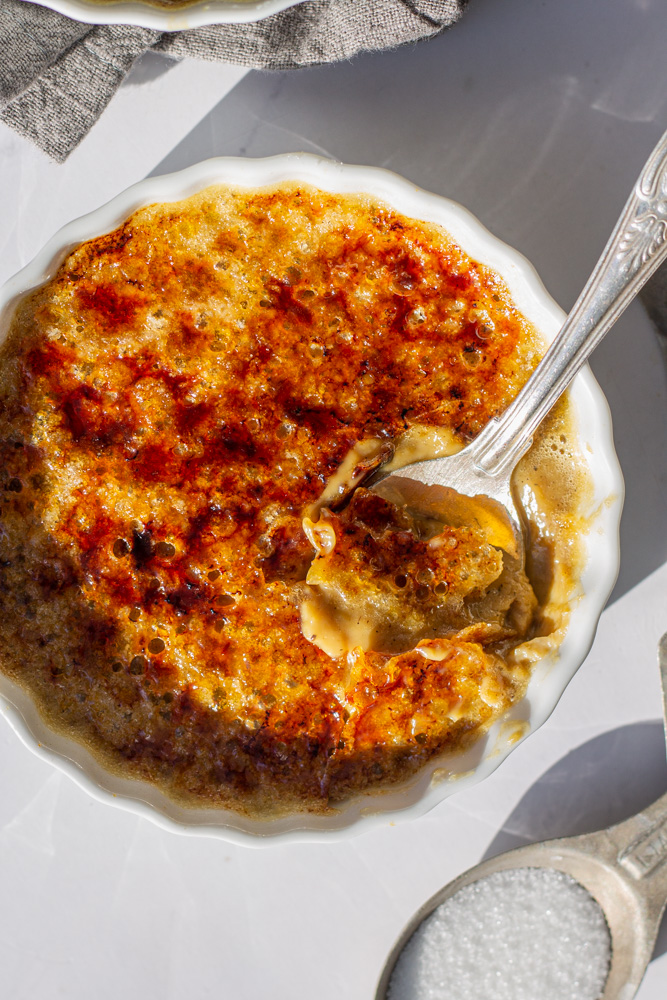
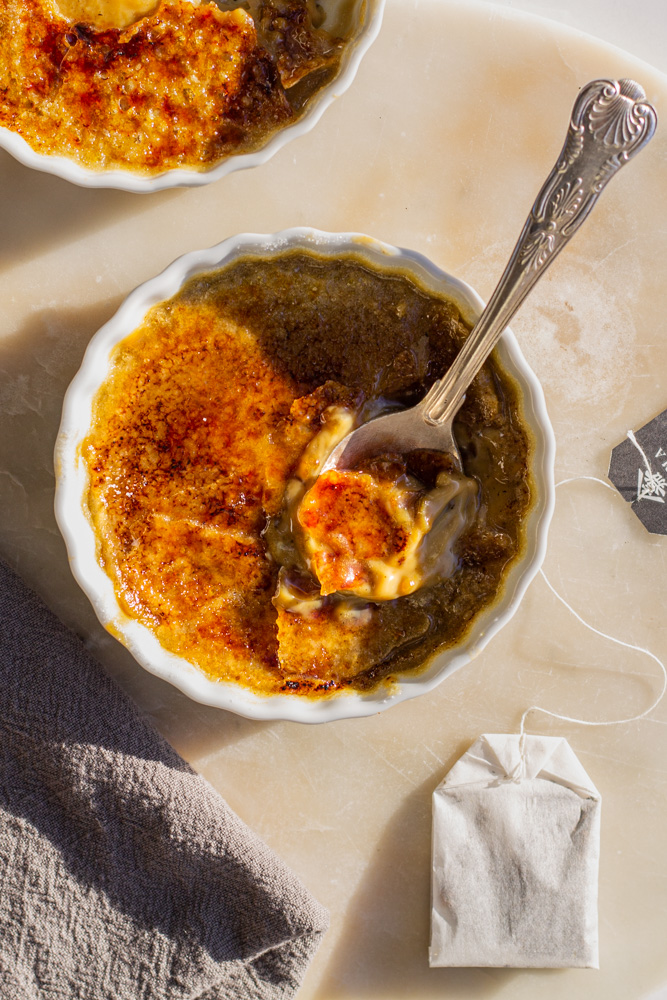
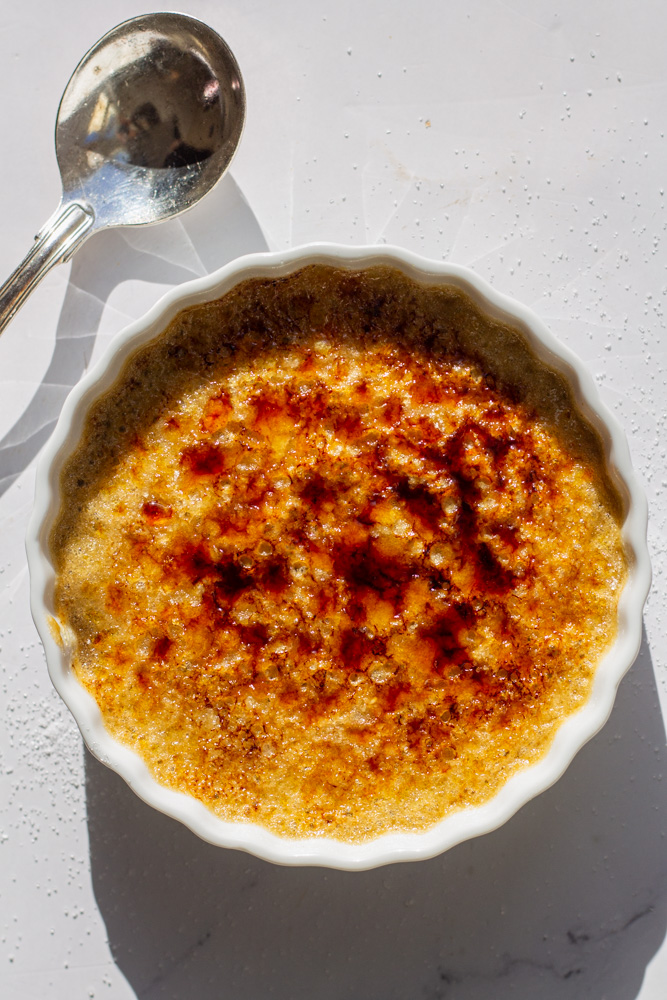
Hojicha meets crème brûlée for one of the best crème brûlées we have ever had. The roasted green tea flavor goes perfectly with the creamy custard and caramelized sugar top. The two flavors are each delicious on their own, but combine to make our favorite version of crème brûlée– hojicha crème brûlée.
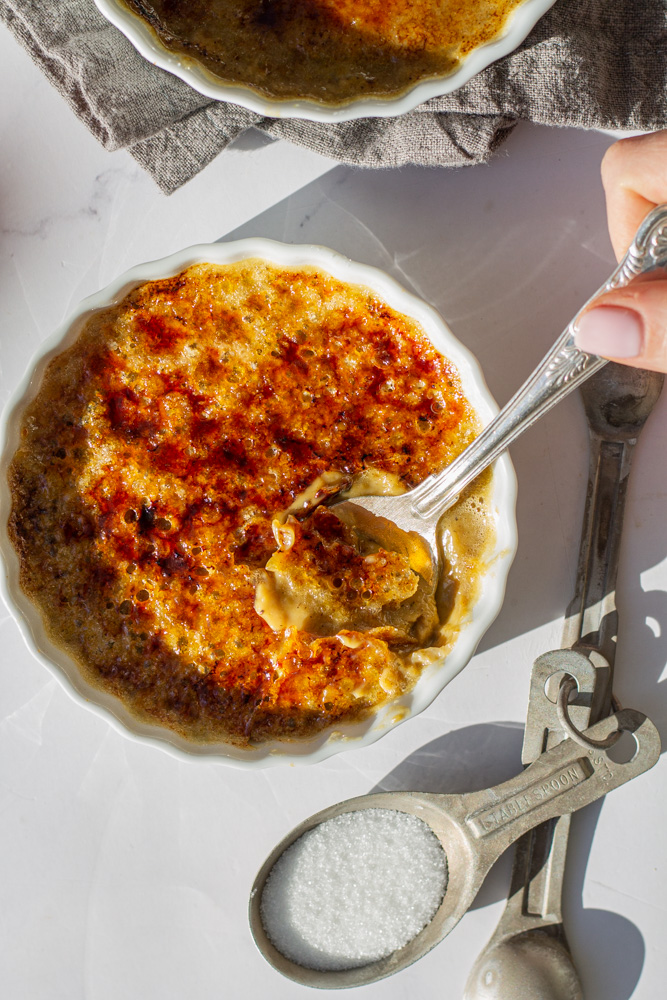
Although crème brûlée has a reputation for being intimidating, in reality it has a short, simple ingredient list. With a blow torch, water bath, and a few ingredients, the restaurant classic can be easily made at home. In this hojicha version, we combine two of our favorites: hojicha and crème brûlée for a seriously delicious dessert.
If you have not had hojicha before, it is one of our all-time favorite flavors. Although we are big green tea and matcha fans, hojicha is our favorite version. It has a roasted, nutty flavor that goes perfectly in desserts (and is delicious to just drink straight). We used it in our hojicha ice cream sandwiches which have a creamy hojicha chip ice cream sandwiched between two brownie cookies. If you are a hojicha fan, these should be next on your list. You can find the recipe here.
Tips for the perfect hojicha crème brûlée:
We know that crème brûlée can be intimidating, so there are a few things we do to make the process a little bit easier.
- Water Bath: The water bath slowly cooks the crème brûlée. This is what allows for the creamy center as it cooks more evenly and slowly. Cooking it in a water bath helps ensure that the crème brûlée is creamy and not over baked because when it comes to crème brûlée we are really looking for two things: creamy center and crunchy top.
- Blow Torch: We find it easier to use a blow torch to caramelize the sugar for the crème brûlée. The blow torch allows for more control when caramelizing the sugar. As soon as the sugar gets golden, continue caramelizing in a new spot until it is golden all over. Since we don’t have many uses for a blow torch in our house, we keep a mini blow torch on hand which is occasionally handy in the kitchen for other desserts like s’mores cupcakes. If a blowtorch cannot be found, put them under the broiler for a few minutes until they start to develop a golden color on top.
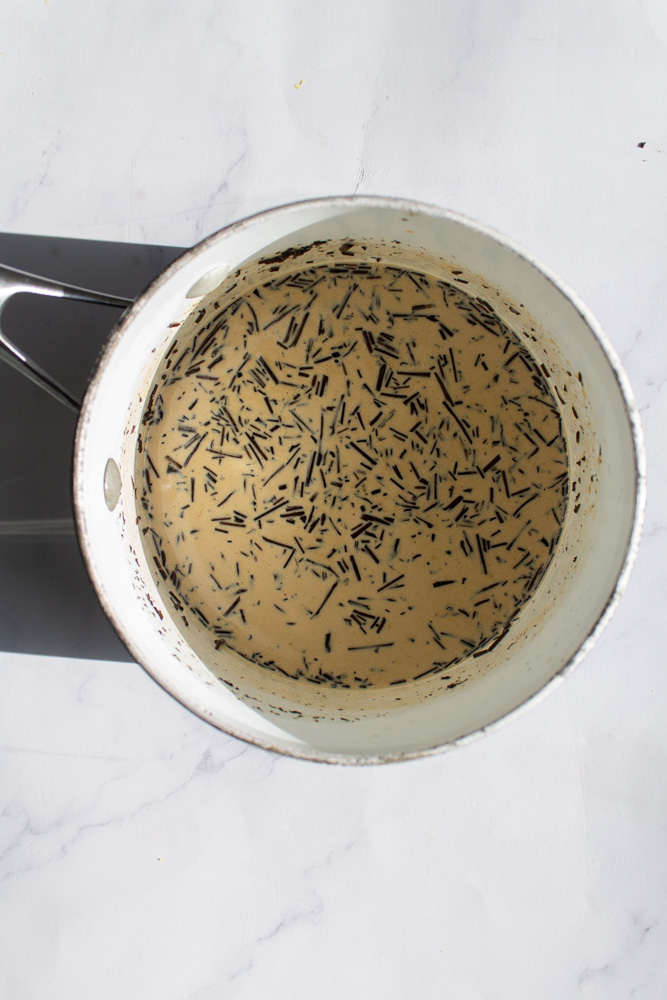
- Steep the tea: To ensure the custard has a strong hojicha flavor, we steep the tea with the cream. This allows the cream to take on the hojicha flavor. After warming and steeping for 30 minutes, we simply strain the tea and then make the custard.
Variations of crème brûlée:
- Classic: You can’t go wrong with a classic. If you love a traditional creme brulee, simply follow the recipe but swap the hojicha with vanilla bean paste. For all the traditionalists out there, you can find our classic vanilla bean version here.
- Earl Grey: To make an earl grey version we use the same method as the hojicha but with earl grey tea. If you are an earl grey ice cream fan, this version will be right up your alley.
- The list goes on… so many of your favorite flavors can be used for this recipe. Since this recipe uses cream, like ice cream, the cream can be infused with tea, coffee, citrus rind, and so much more when it is heated. We use a method similar to ice cream where we warm the cream and let it sit for about 30 minutes with the tea leaves, citrus zest, etc before reheating, straining out the flavor, and making the crème brûlée as written. If you do not want to go the infusion route, extracts or other infusions can also be used to make a crème brûlée with your favorite flavors.
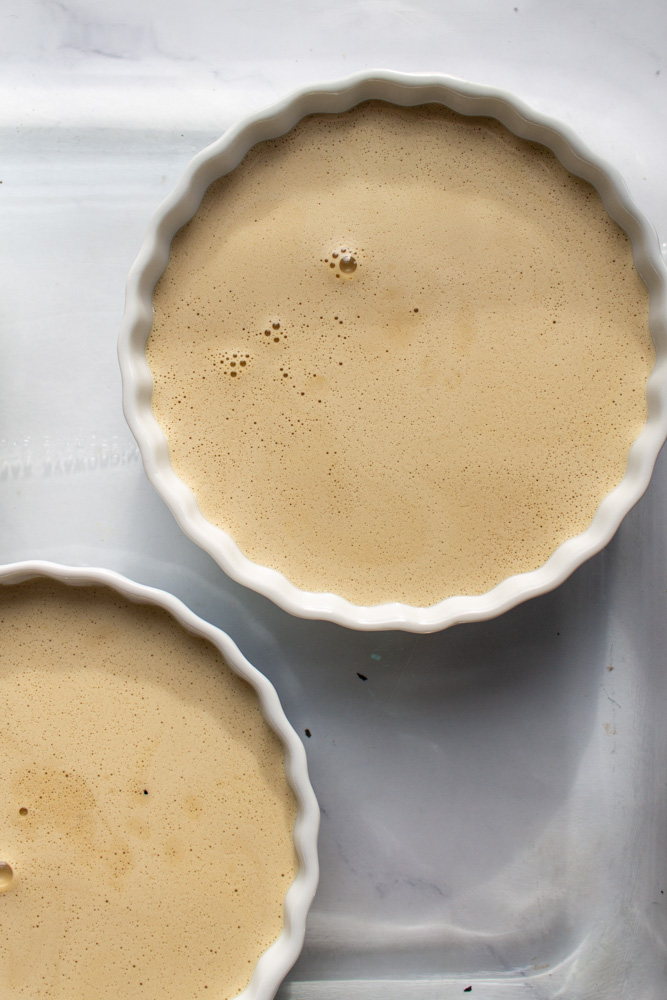
Steps for making hojicha crème brûlée:
- Steep the tea and cream
- Make the custard
- Prepare the water bath
- Cook the crème brûlée (just until barely trembling in the center)
- Let the crème brûlée set and cool
- Caramelize the sugar
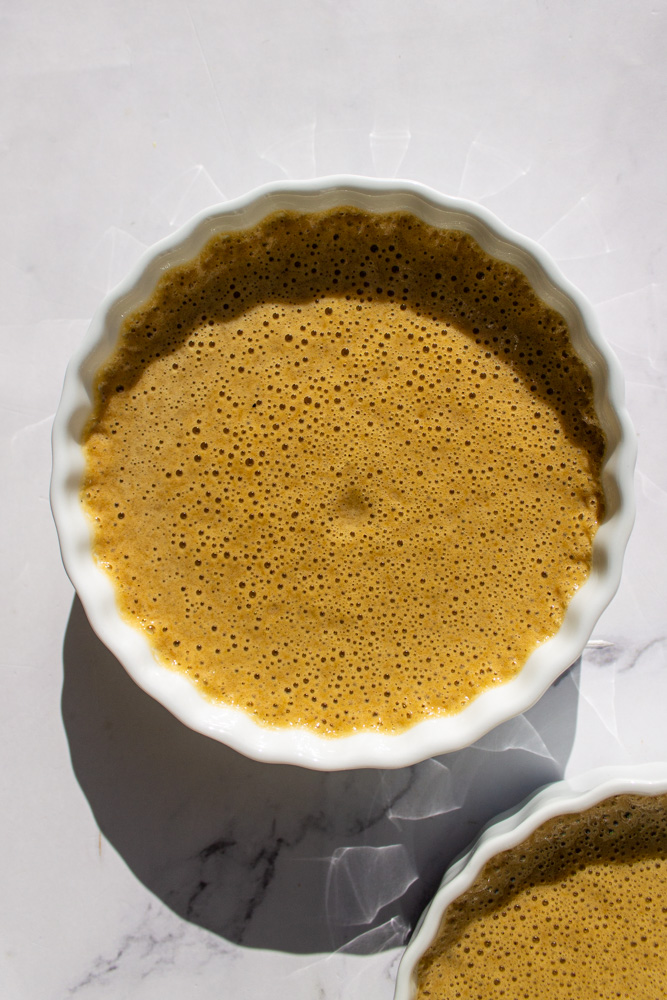
Hojicha Crème Brûlée FAQs:
Can I make creme brûlée ahead?
These can be made ahead up until the caramelized sugar top. The sugar top should be completed before serving. To make ahead, simply make as instructed and pause at the step where they cool in the fridge. The crème brûlées can cool in the fridge for 2-3 days. When ready to serve, remove, top with sugar, and caramelize.
Can I use milk instead of cream?
Half and half can be used in place of cream in this recipe. We recommend making it with heavy cream but if heavy cream is not available substitute 1:1 half and half. The result will be slightly less creamy but still delicious.
Can I make half of the recipe to make 2 hojicha creme brûlées?
Yes! This recipe can be halved to make just 2 crème brûlées.
What size of ramekins do you use to make the creme brûlée?
We used 6 oz ramekins for this recipe. When using this size, the recipe will yield 4 crème brûlées.
Hojicha Crème Brûlée
Equipment
- 1 large baking dish (large enough to fit all 4 ramekins with space in between)
- 4 4 6 oz baking dishes
Ingredients
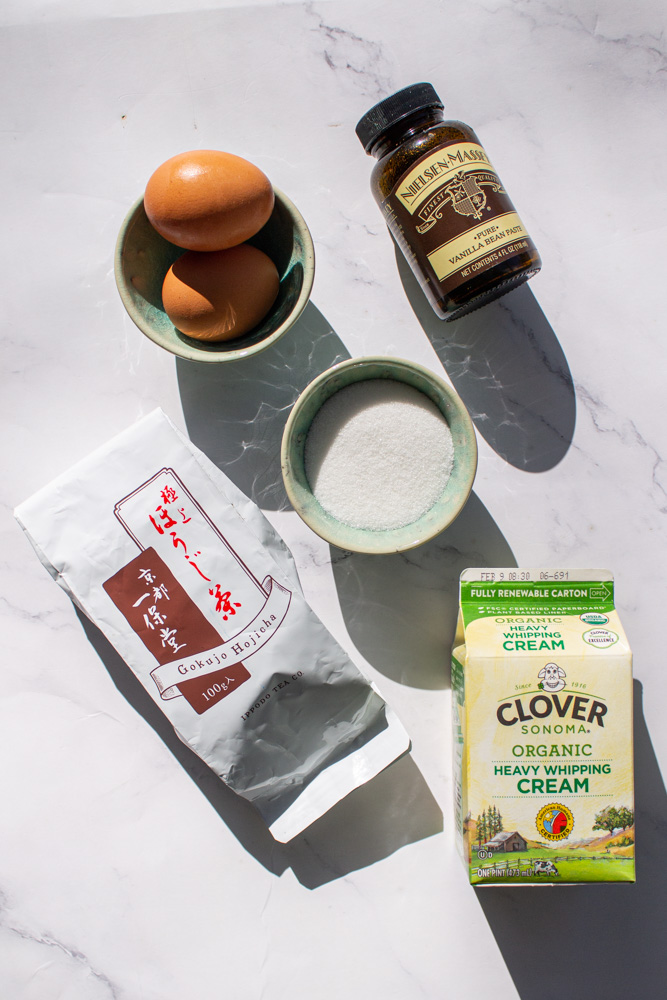
- 4 egg yolks
- 2 cups heavy cream
- ½ cup granulated sugar
- 20 g hojicha tea
For caramelizing:
- 4 tablespoons granulated sugar
Water Bath:
- Enough hot water to fill the baking dish so the ramekins are a little over halfway submerged in water
Instructions
- Preheat the oven to 325 degrees fahrenheit
Making the crème brûlée
- In a small saucepan, combine the heavy cream and hojicha tea leaves. Heat the mixture on medium-low heat until it is warm throughout but not boiling. Remove from heat and cover with a lid to steep the tea and cream for 30 minutes.
- After 30 minutes, strain the tea leaves and reheat the cream until warm but not boiling. Set aside
- In a mixing bowl, beat together the egg yolks and ½ cup of sugar until the mixture becomes a pale yellow color. Once beaten, slowly add in about ½ cup of the warm cream mixture while whisking steadily to ensure the eggs do not cook. Then pour in the rest of the warm cream and mix until combined
- Pour ¼ of the mixture into each of the 4 6-oz ramekins
Water bath
- Place all 4 ramekins in a large baking dish (there should be at least 1” of space in between each ramekin)
- Pour boiling water inside the large baking dish slowly so it rises halfway up the side of each ramekin (be careful during this step no water should not touch the cream mixture)
- Bake for 30-40 minutes or until the mixture has a very slight jiggle just in the center (the edges should be set and the middle should barely move)
Setting and cooling
- Remove from the oven and remove from the water bath. Set them on a wire rack to cool
- Once cooled, cover and refrigerate for 3 hours or up to 3 days
Caramelizing the sugar
- When ready to serve, top each with 1 tablespoon of granulated sugar. Sprinkle the sugar in an even layer and then caramelize the sugar with a blow torch until it is melted and a brown golden color (this can also be done in a broiler by placing the crème brûlées on a wire rack and broiling for a few minutes. Be sure to keep them a few inches from the broiler and keep a close eye on them). Let sit for 5 minutes and serve

Leave a Reply